![[SOFTCAM] OSCAM 11791](https://www.vuplus4k.com/wp-content/themes/magazine-style/images/nothumb.jpg)

Here is an image tutorial that shows you how to install and configure picons on Vuplus decoders under a Black Hole image.
For this tutorial you need.
Material:
Vu + ZERO, UNO, DUO, DUO 2, ULTIMO, SOLO, SOLO 2, SOLO SE, zero 4K, Uno 4k, solo 4k, Ultimo 4k, DUO 4K
Winscp for WINDOWS

PICONS 220 × 132 for satellite

– Launch WINSCP in the home window
File protocol: FTP
Hot name: 192.168.1.100 (ip address of your Vu+)
User name: root
Password: “empty” by default the root password in Black Hole is empty (no password needed)
After clicking on Login

Unpack the Picon ASTRA 220 × 132 file
Select the picon folder and drag between the two windows to the /usr/share/enigma2 folder.
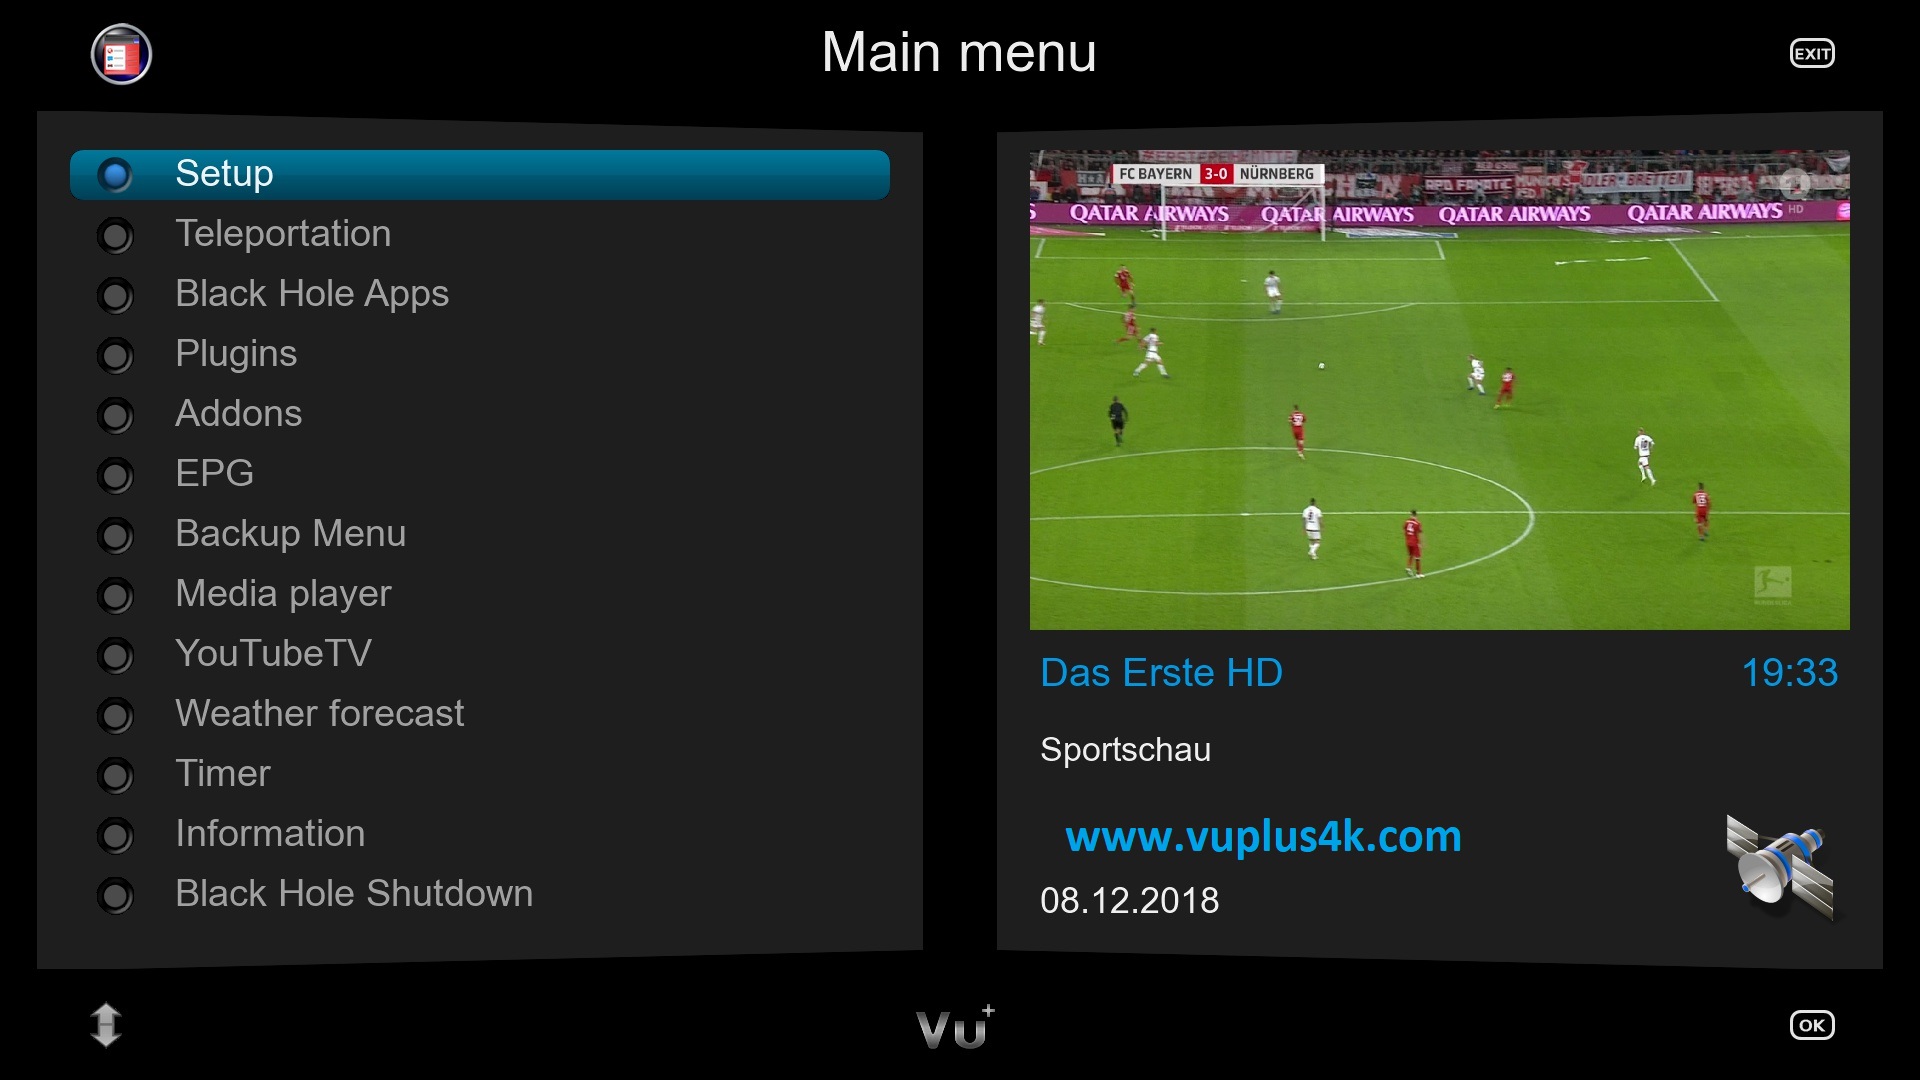
MENU – Setup
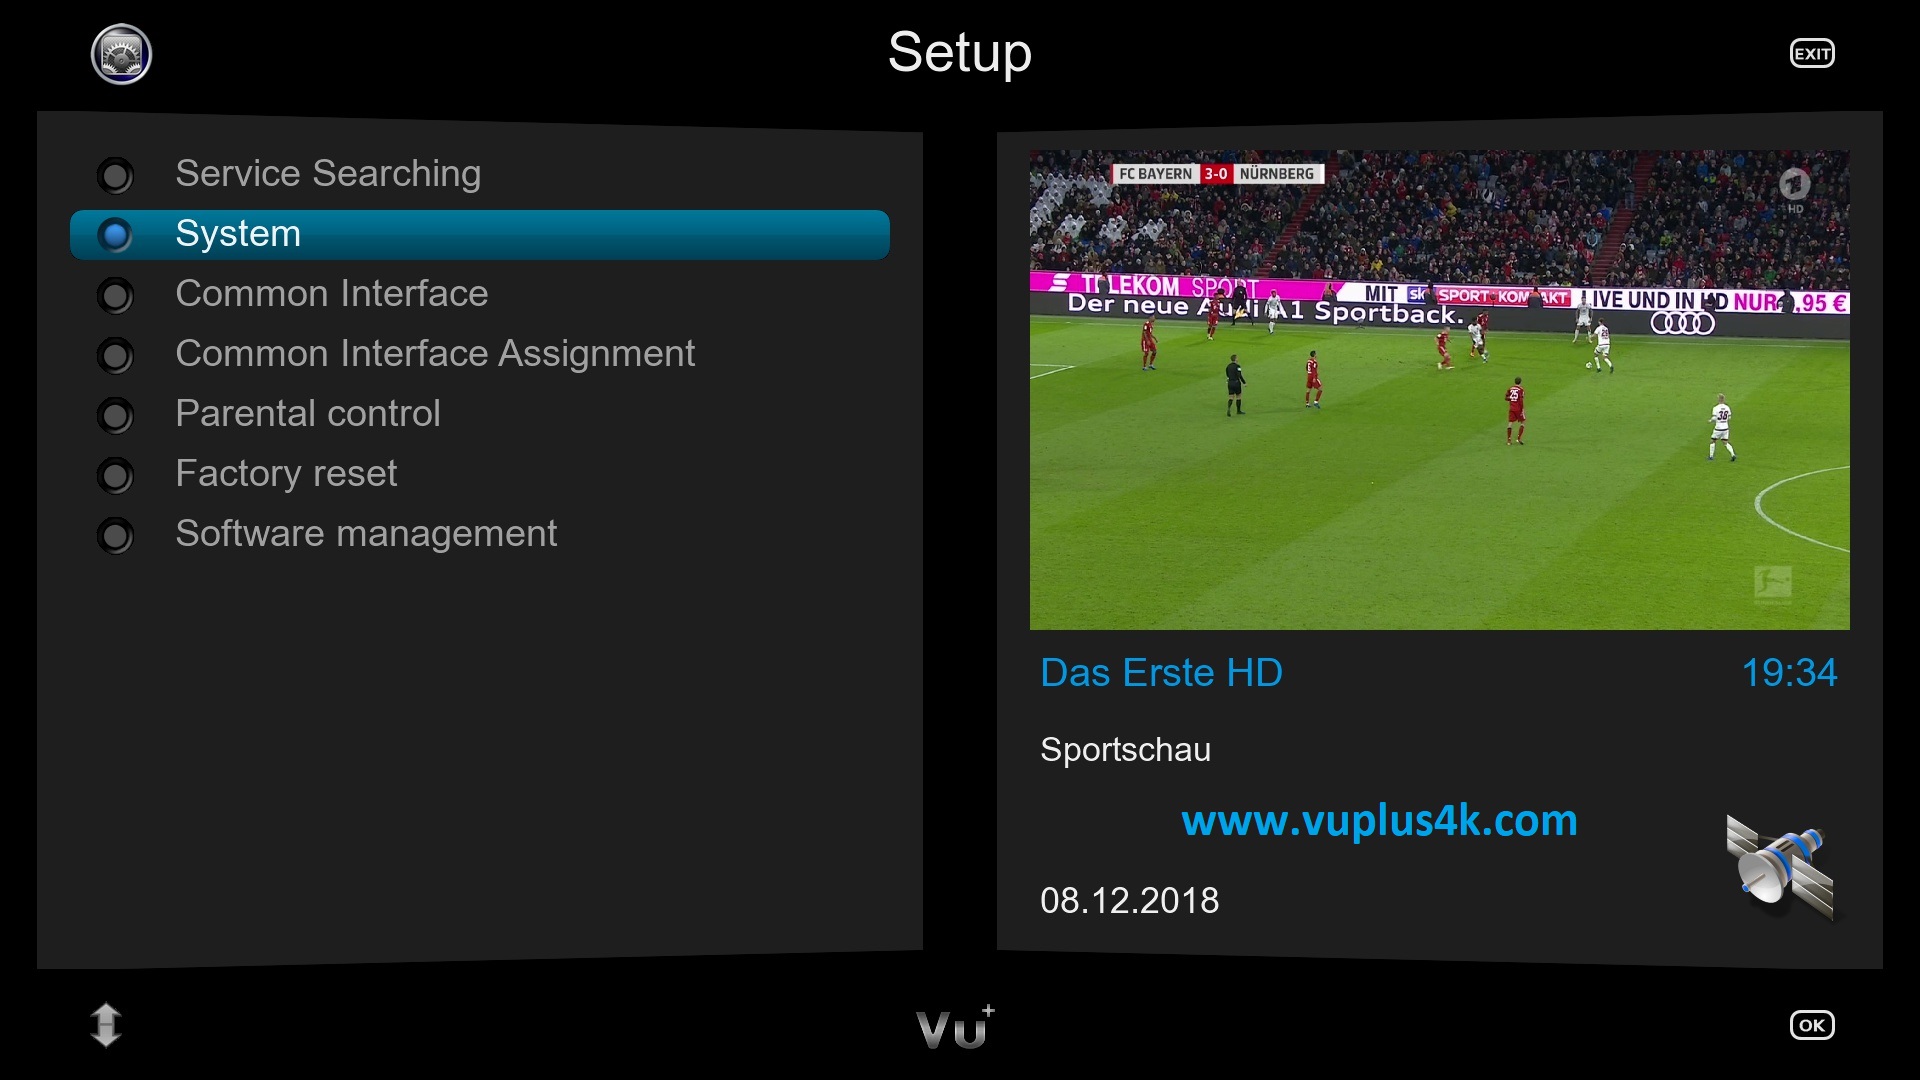
System
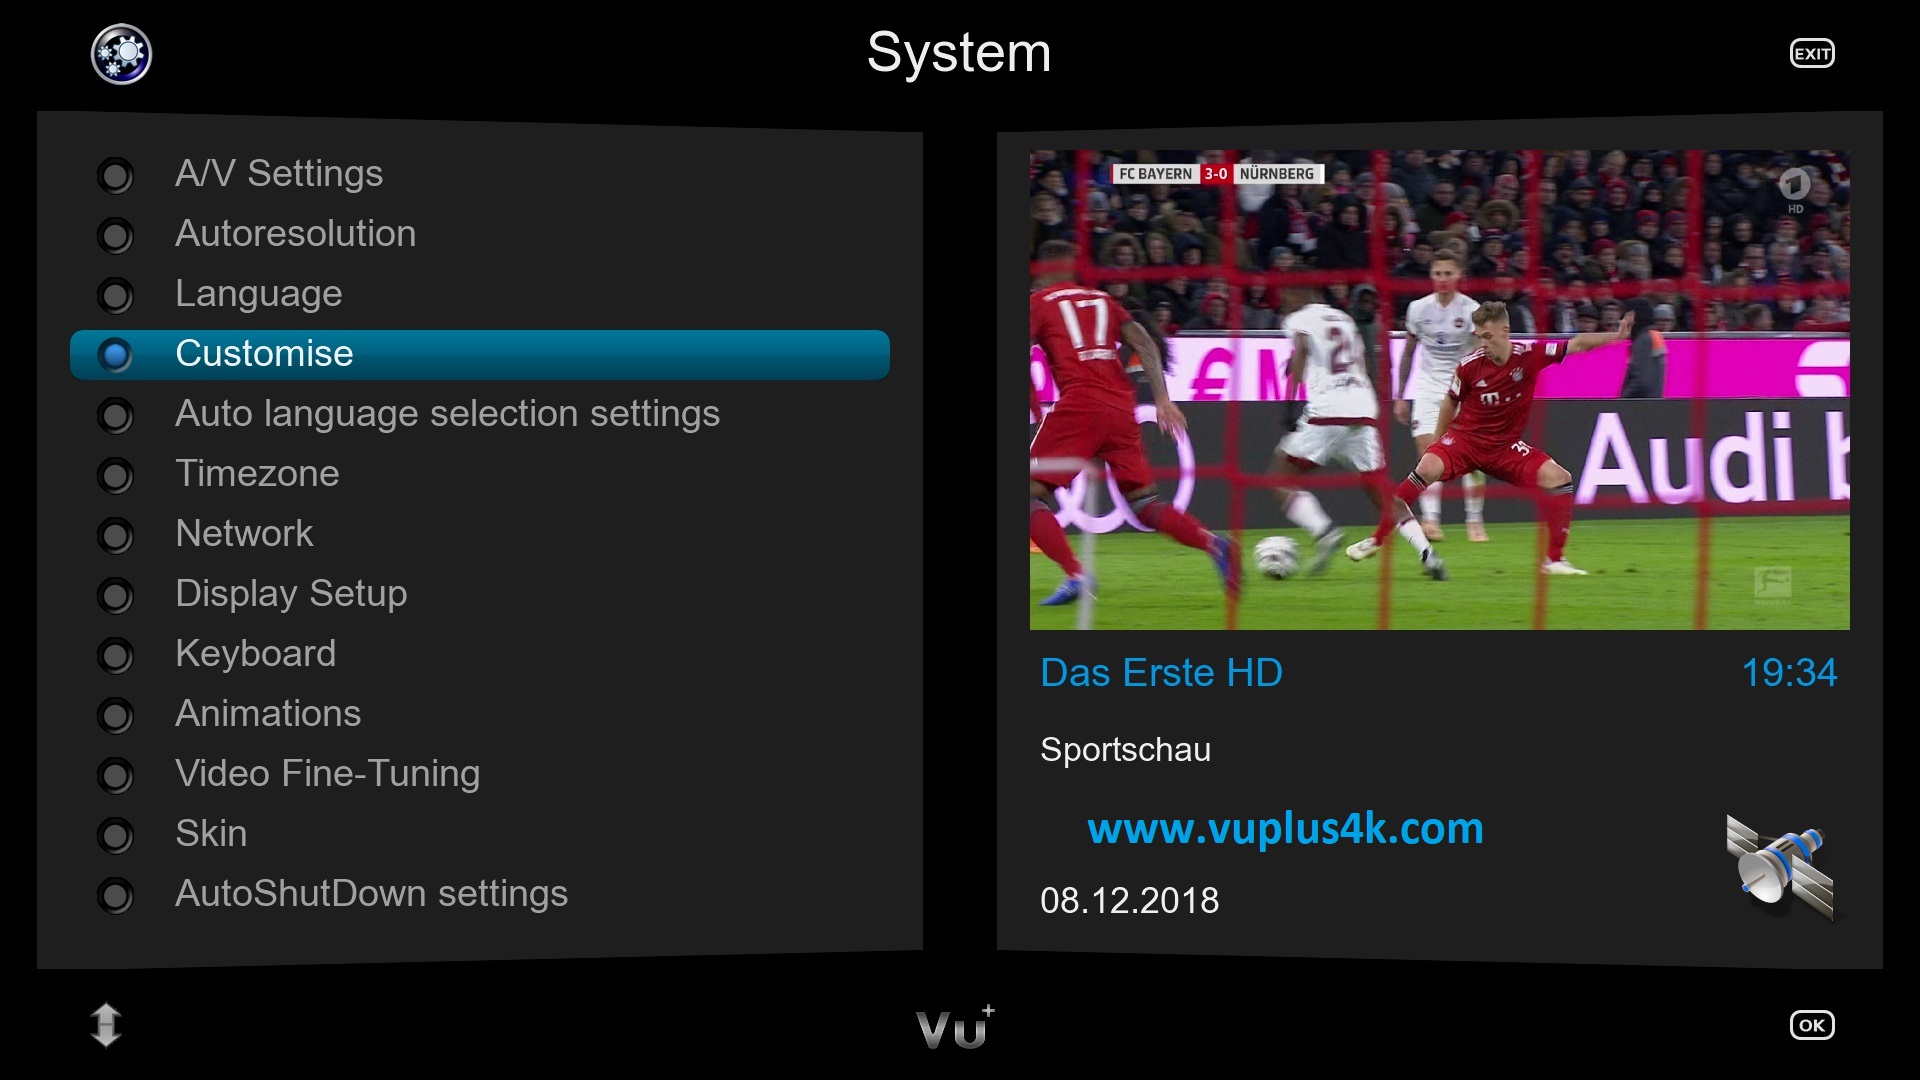
Customize
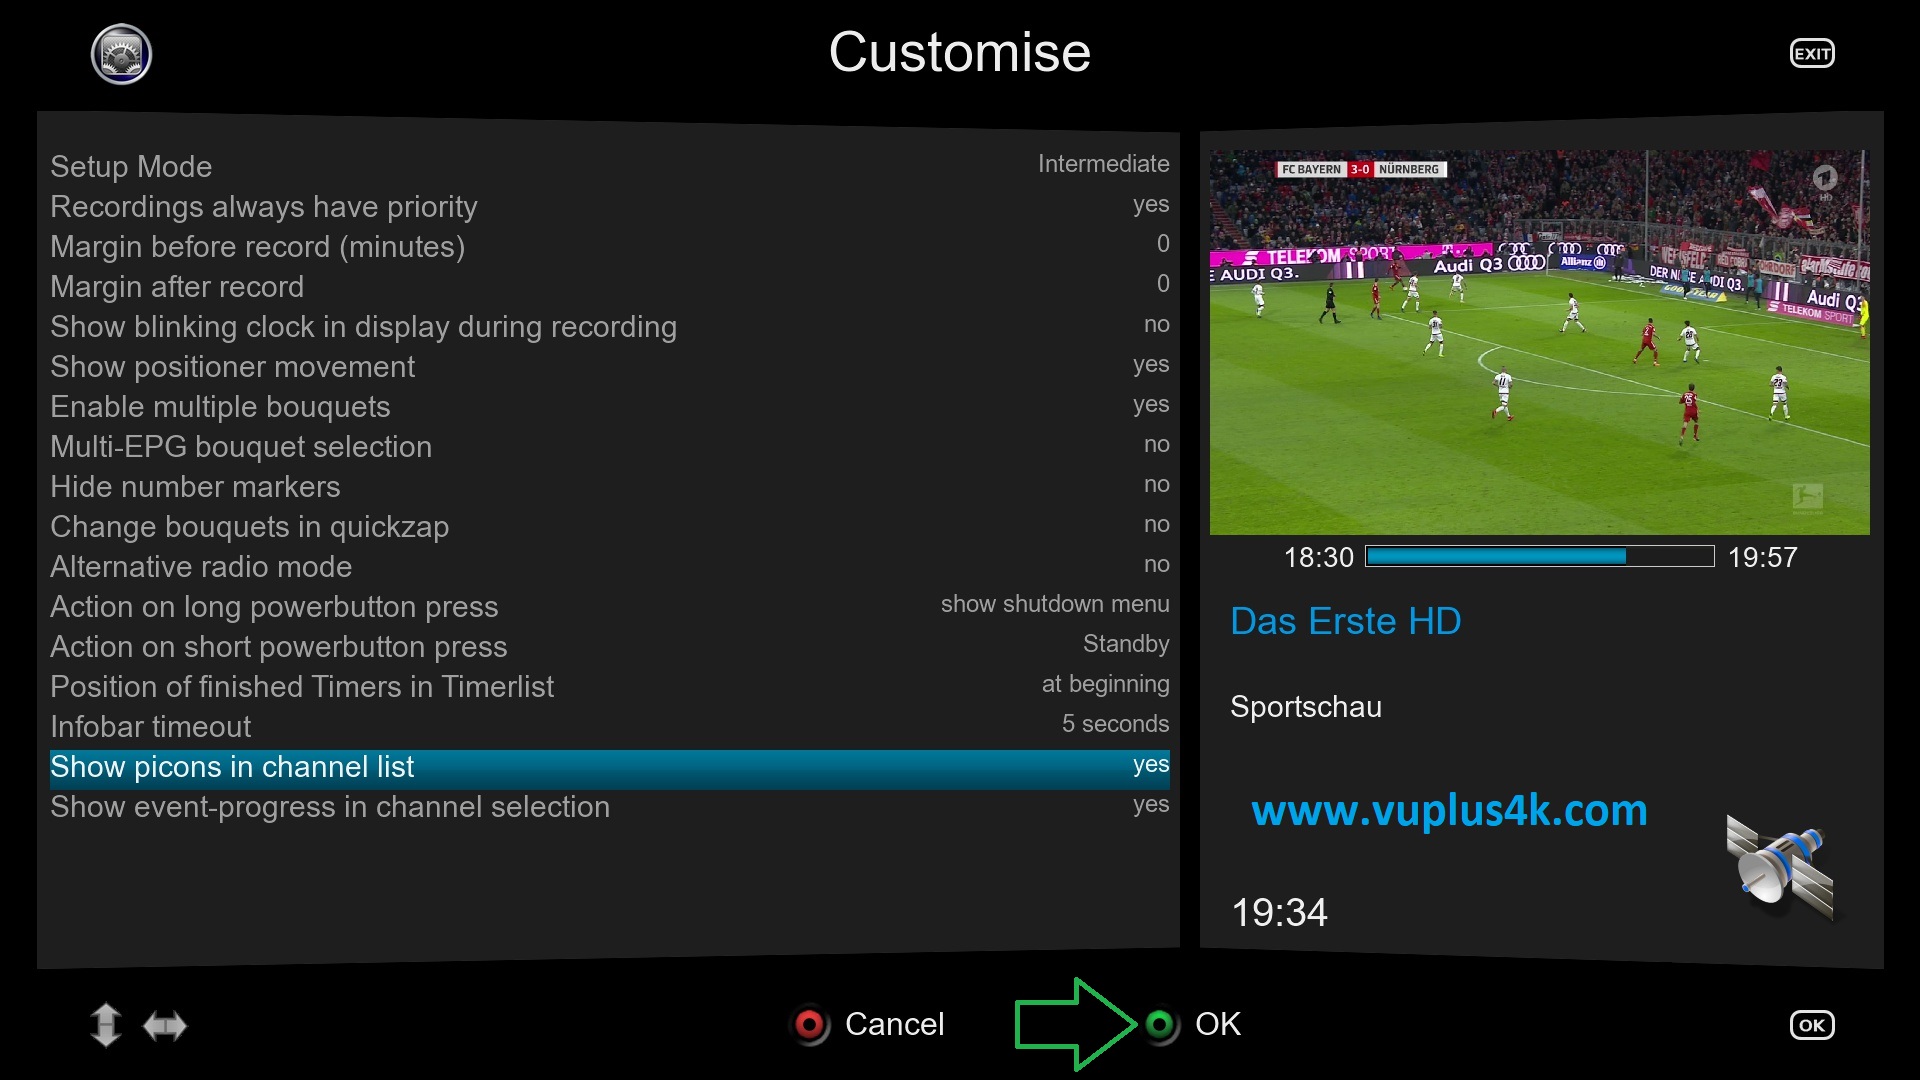
Enable Show picons in channel list
press GREEN button to save
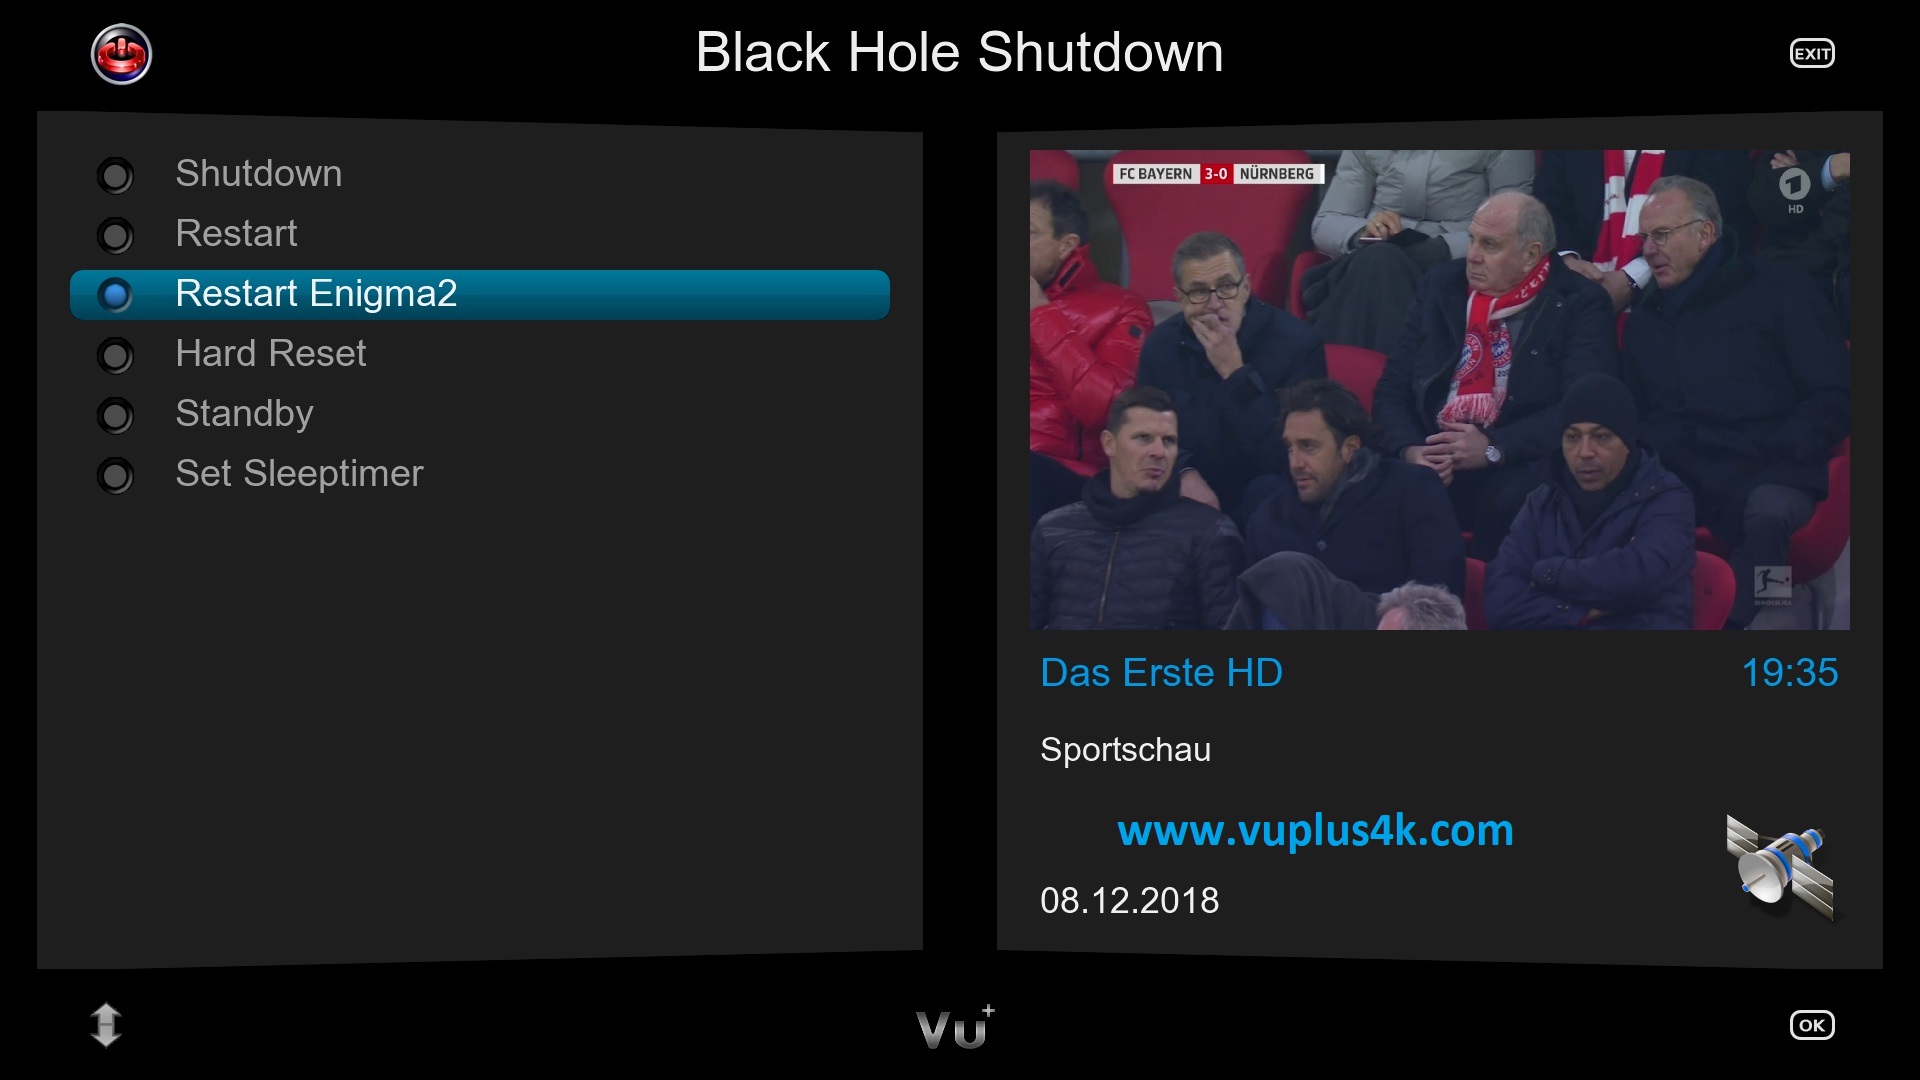
Then restart your receiver
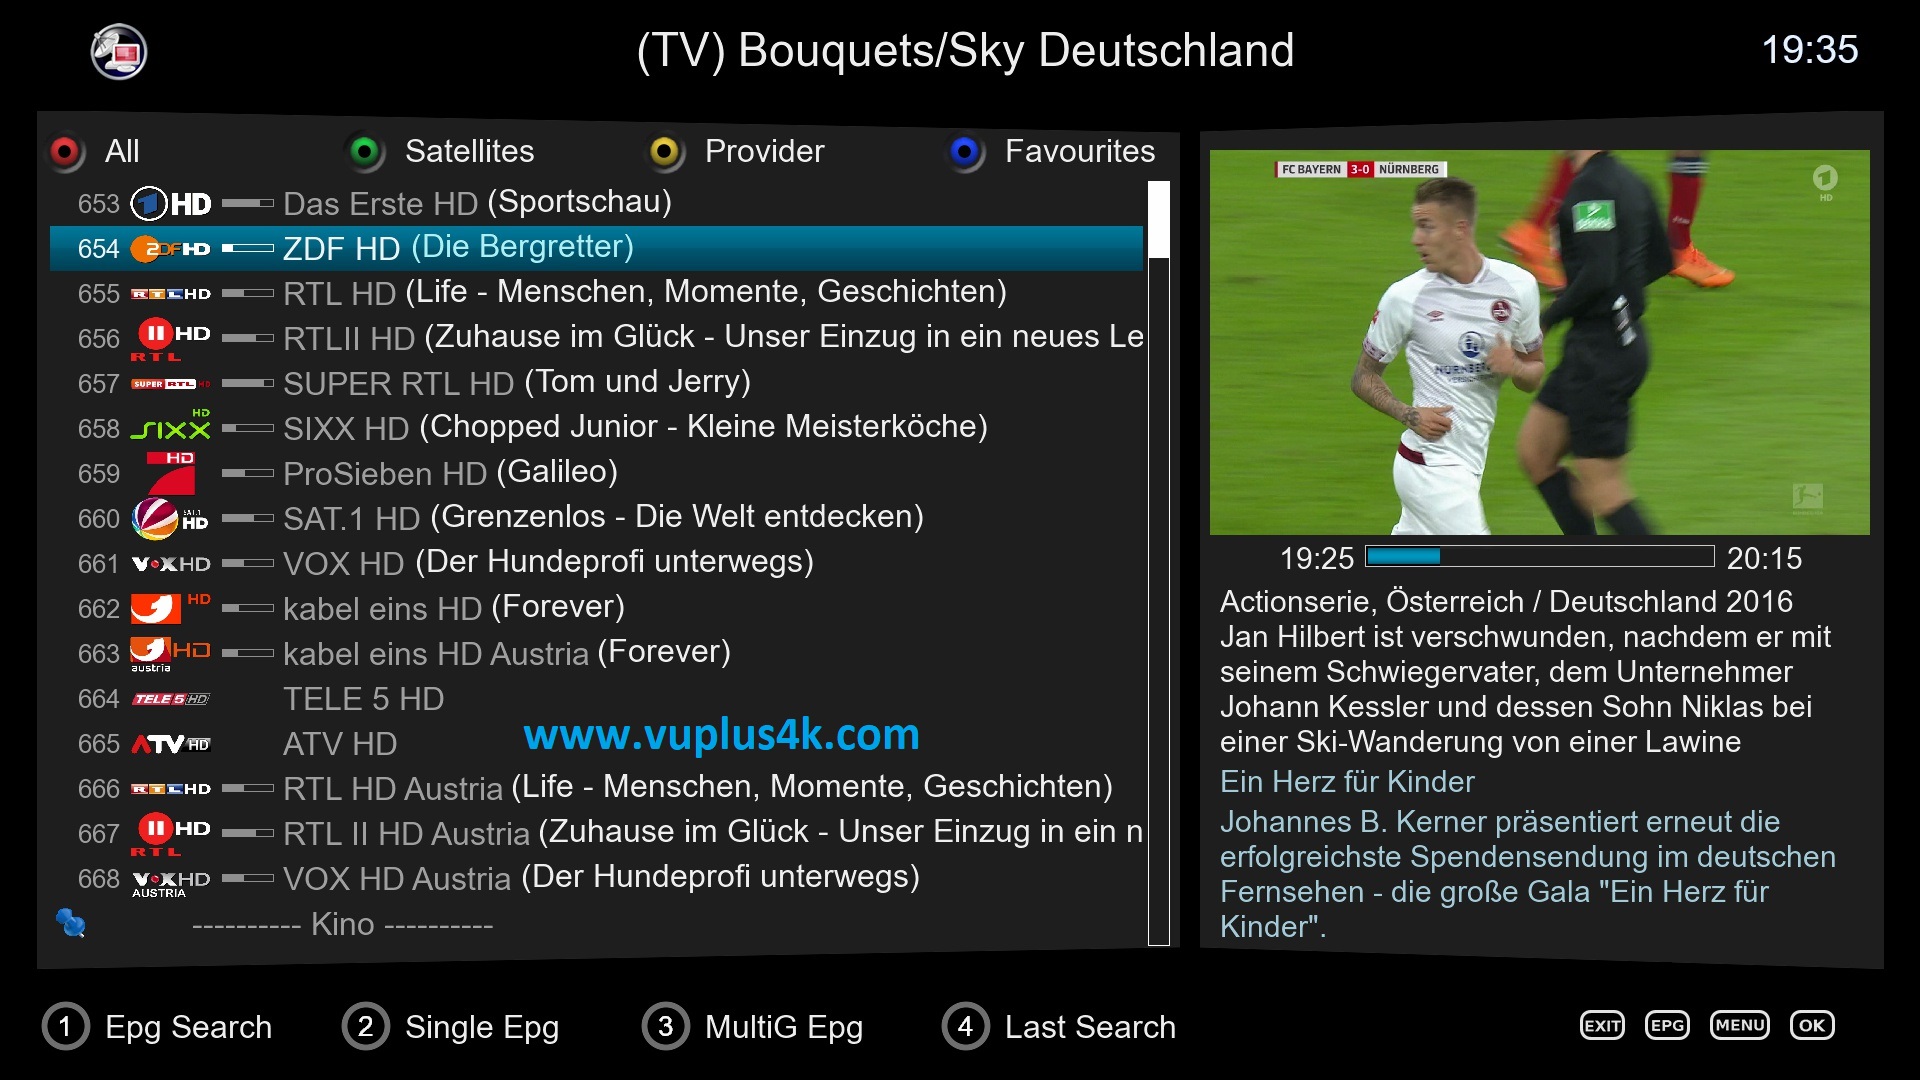
Congratulation you have Picon now on your Black Hole SKIN 🙂
*******************************************************************
You can install the picons on the internal flash memory of your receiver, the internal hard disk, a USB key
Command to add when copying picon to the internal hard drive
ln -s /usr/share/enigma2/picon /hdd/picon
Command to add when copying picon to USB stick
ln -s /usr/share/enigma2/picon /usb/picon