Here is a tutorial on the installation and configuration of Wicardd 1.19 on the Vu+ decoder under a BlackHole 3.0.4 image and Wicardd 1.19 .
IMPORTANT: This tutorial is valid for all versions of 3.x.x.
For this tutorial you need.
Material:
Vu + ZERO, UNO, DUO, DUO 2, ULTIMO, SOLO, SOLO 2, SOLO SE, zero 4K, Uno 4k,Uno 4kSE, solo 4k, Ultimo 4k
Software:
Winscp

Wicardd 1.19 softcam for Blackhole image for MIPS CPU, Vu + ZERO, UNO, DUO, DUO 2, ULTIMO, SOLO, SOLO 2, SOLO SE
Wicardd 1.19 softcam for Blackhole image for ARM CPU, Vu+ zero 4K, Uno 4k, solo 4k, Ultimo 4k
A Wicardd subscription – If you do not have a Wicardd subscription you can order it here

1- Installing the Wicardd plugin

– Launch WINSCP in the home window
File protocol: FTP
Hot name: 192.168.1.100 (ip address of your VU+ )
User name: root
Password: “empty” by default the root password in BlackHole is empty (no password)
After clicking on Login
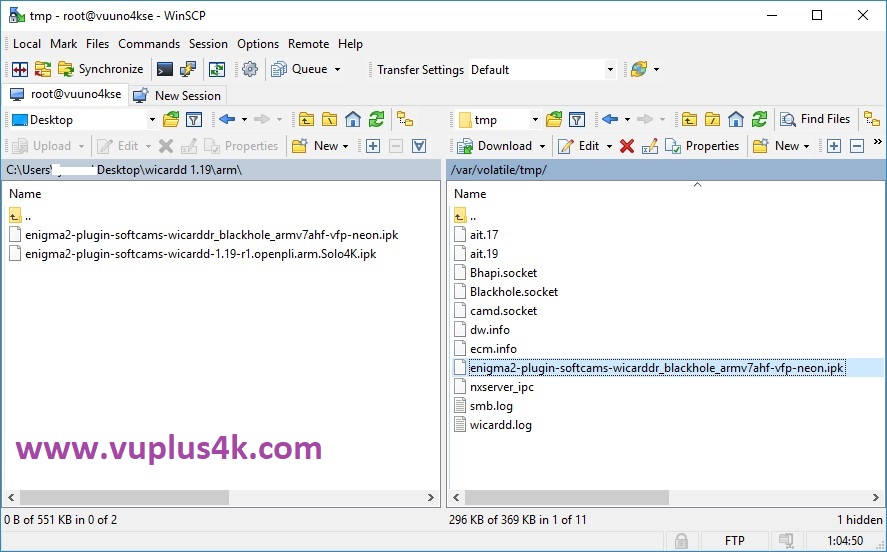
Select the ipk file and drag between the two windows to the /tmp folder.

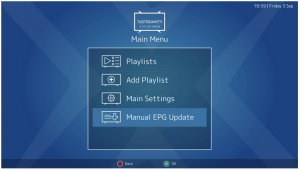
Press Green button to launch Black Hole Green Pannel
Next press the yellow button on the remote

Choose Manually install ipk package

Choose the ipk and press OK

Choose YES to confirm installation
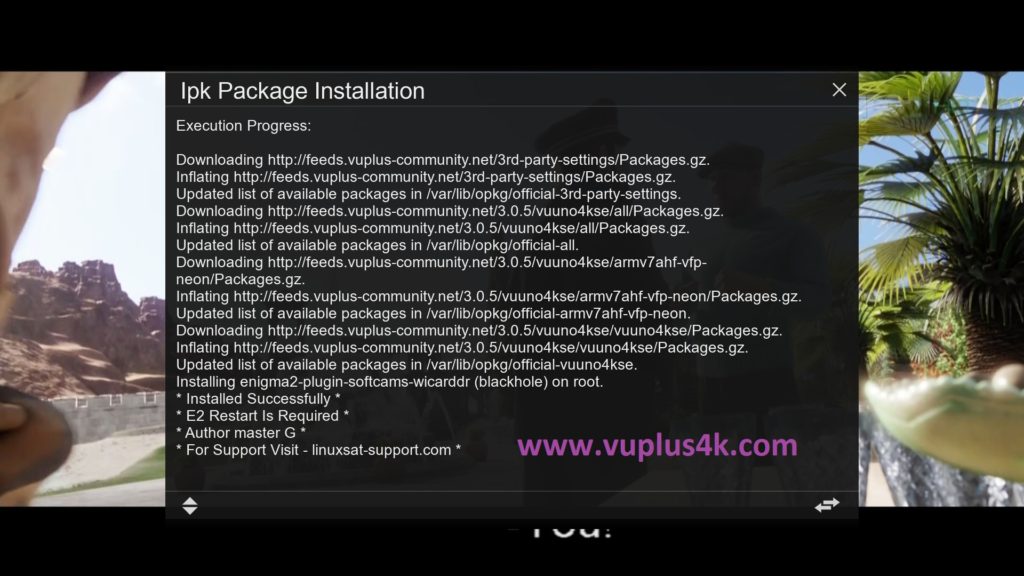
Please wait while installing Wicardd softcam

Press OK to complete the installation, the GUI will restart, it will take a few seconds.
2. Copy of the Wicardd subscription
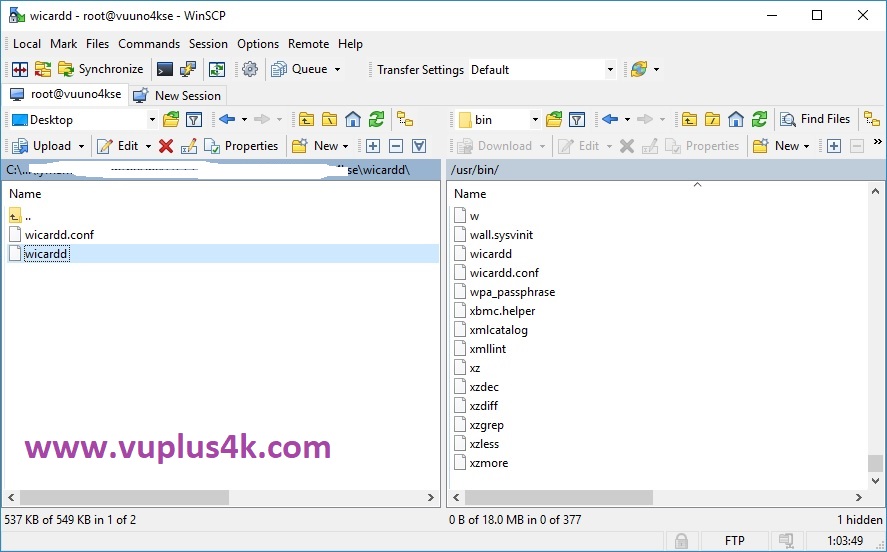
Copy subscription files Wicardd.cfg from your PC to the /etc/tuxbox/config path of your Vu+ ZERO, SOLO, SOLO 2, UNO, DUO, DUO 2, SOLO SE, ULTIMO
Copy subscription files from your PC to the /usr/bin path of your Vu+ ZERO 4K, SOLO 4K, UNO 4K, UNO 4K SE, ULTIMO 4K
3. Starting Wicardd
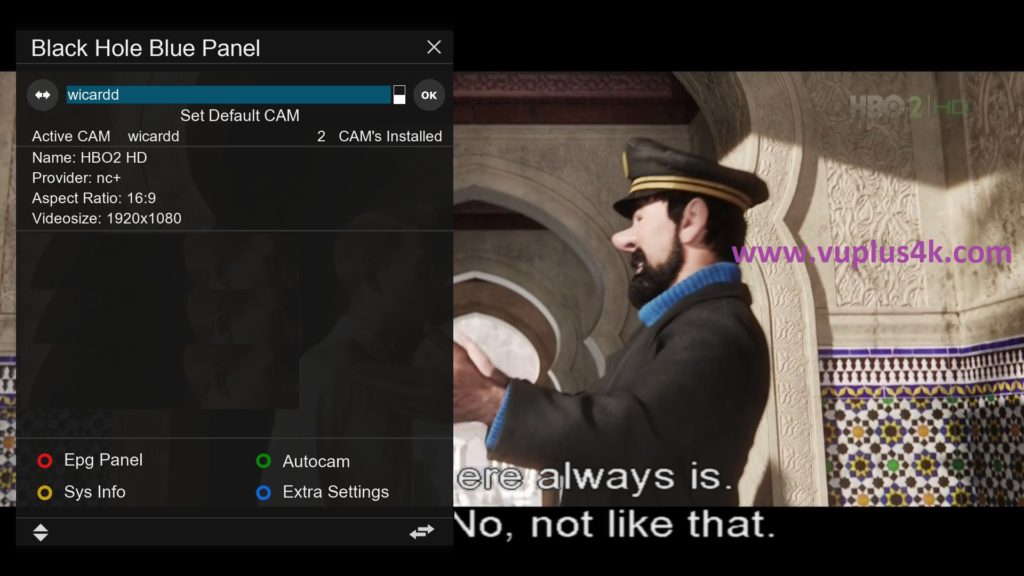
Press the blue button on the remote control to launch BLUE PANNEL
then choose the Wicardd 1.19 softcam, press OK to start it

Please wait while starting Wicardd 1.19


https://youtu.be/_uusZgIofwo