


Here is an image tutorial that shows you how to install and configure picons on Vuplus decoders under a OpenATV image.
For this tutorial you need.
Material:
Vu + ZERO, UNO, DUO, DUO 2, ULTIMO, SOLO, SOLO 2, SOLO SE, zero 4K, Uno 4k, solo 4k, Ultimo 4k, DUO 4K
Winscp for WINDOWS

PICONS 220 × 132 for satellite

– Launch WINSCP in the home window
File protocol: FTP
Hot name: 192.168.1.100 (ip address of your Vu+)
User name: root
Password: empty (NO PASSWORD )- by default the root password in OpenATV
After clicking on Login

Unpack the Picon ASTRA 220 × 132 file
Select the picon folder and drag between the two windows to the /usr/share/enigma2 folder.
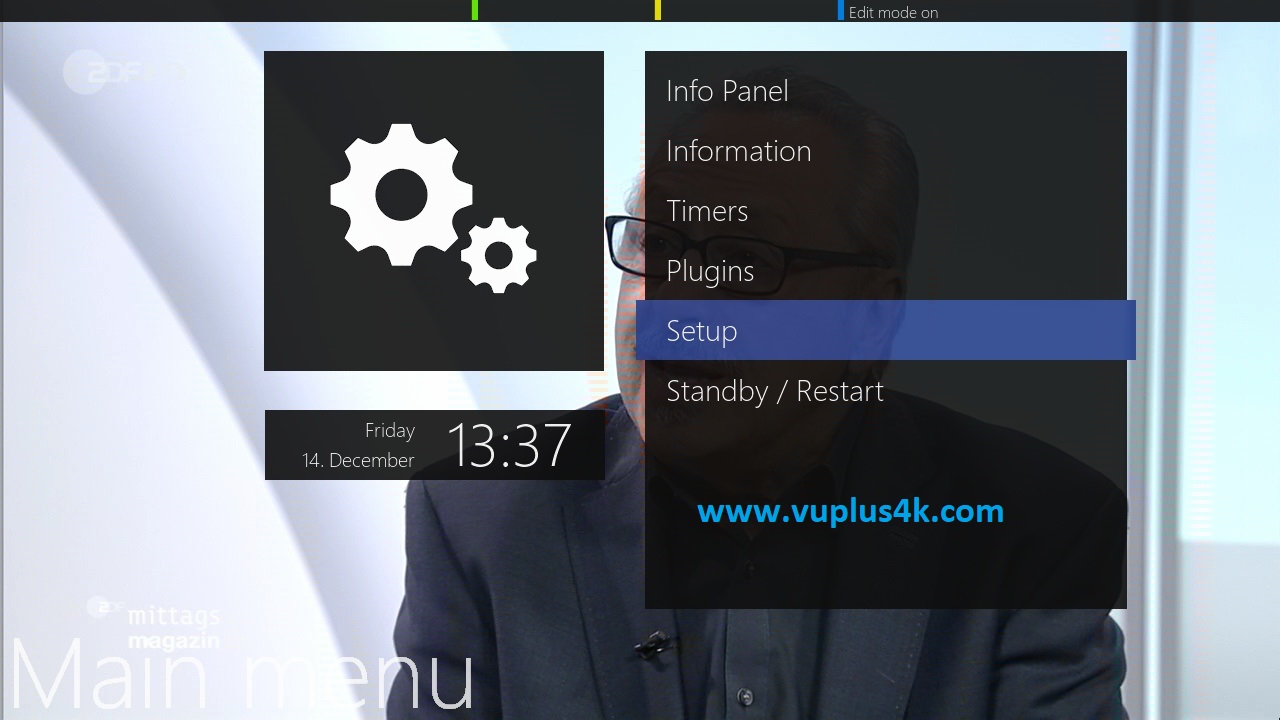
MENU – Setup
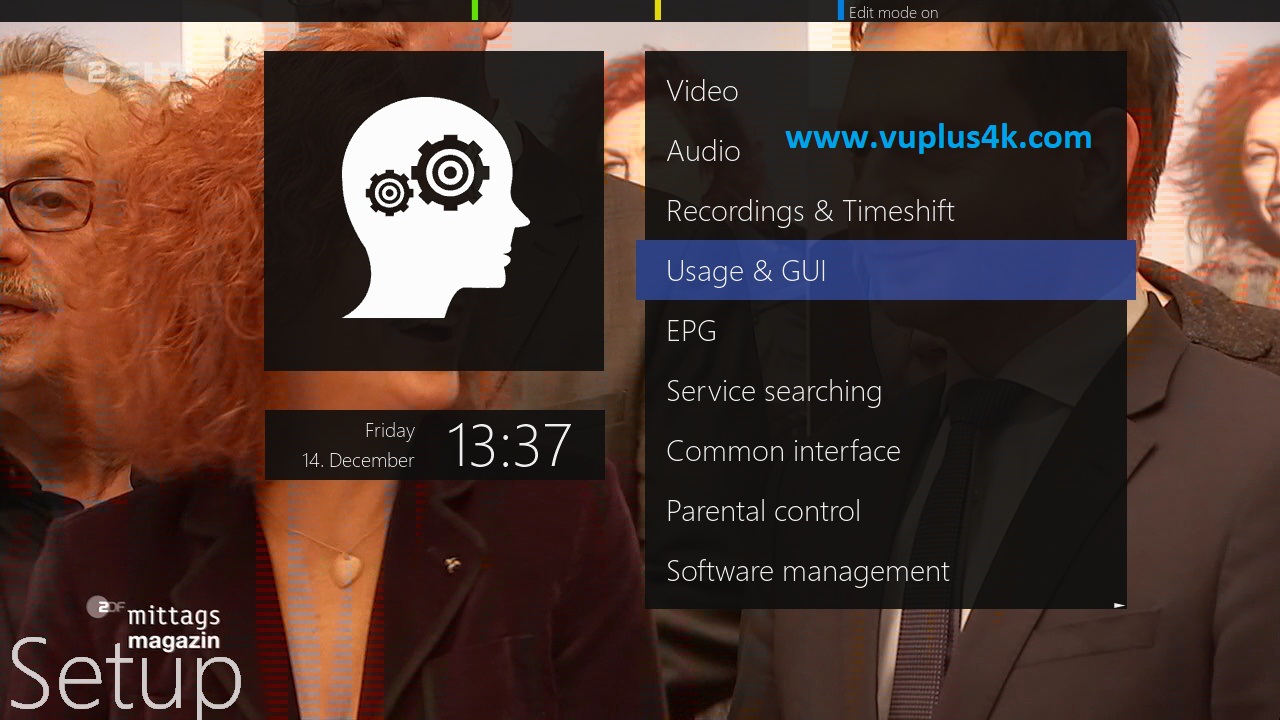
Usage and GUI
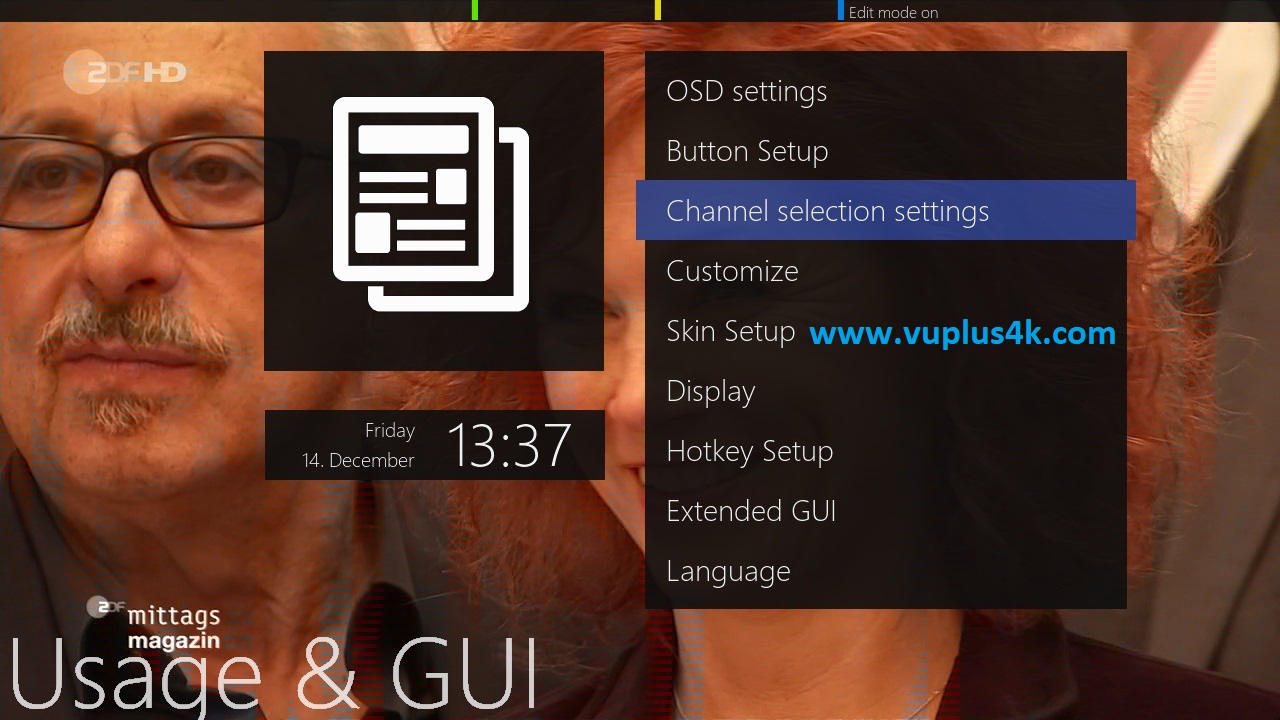
Channel selection settings
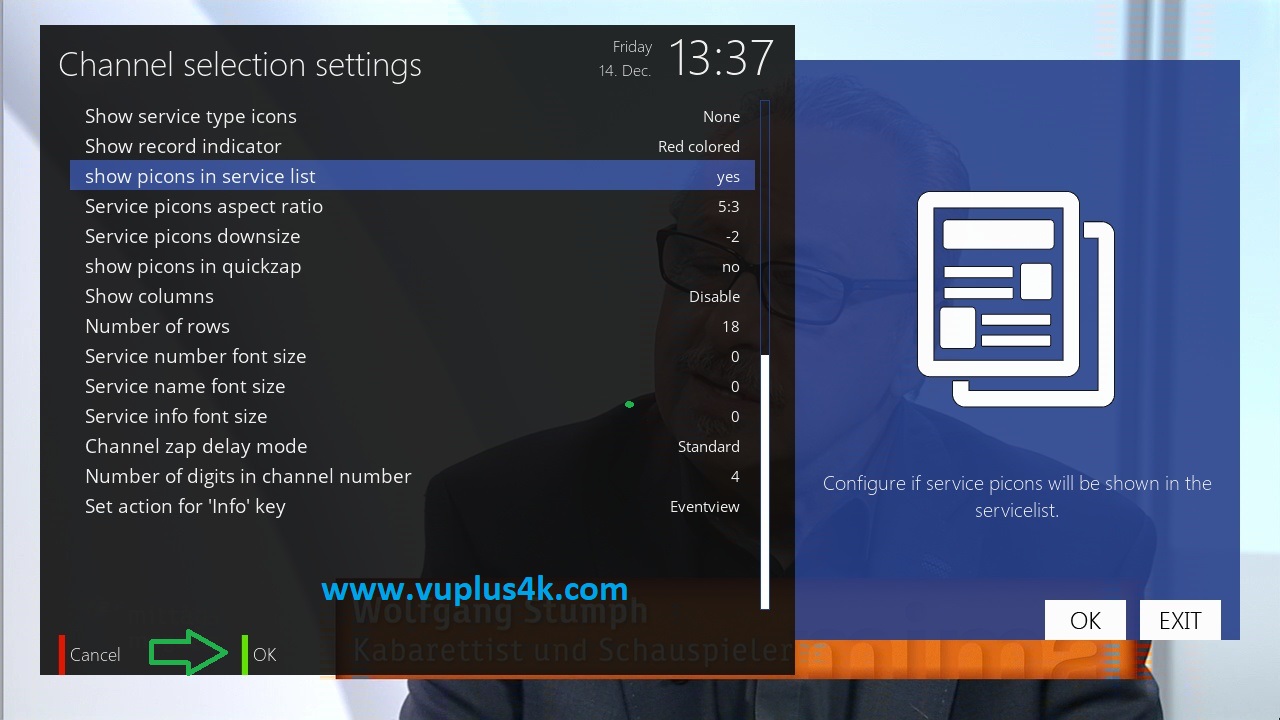
Enable Show picons in channel list
press GREEN button to save
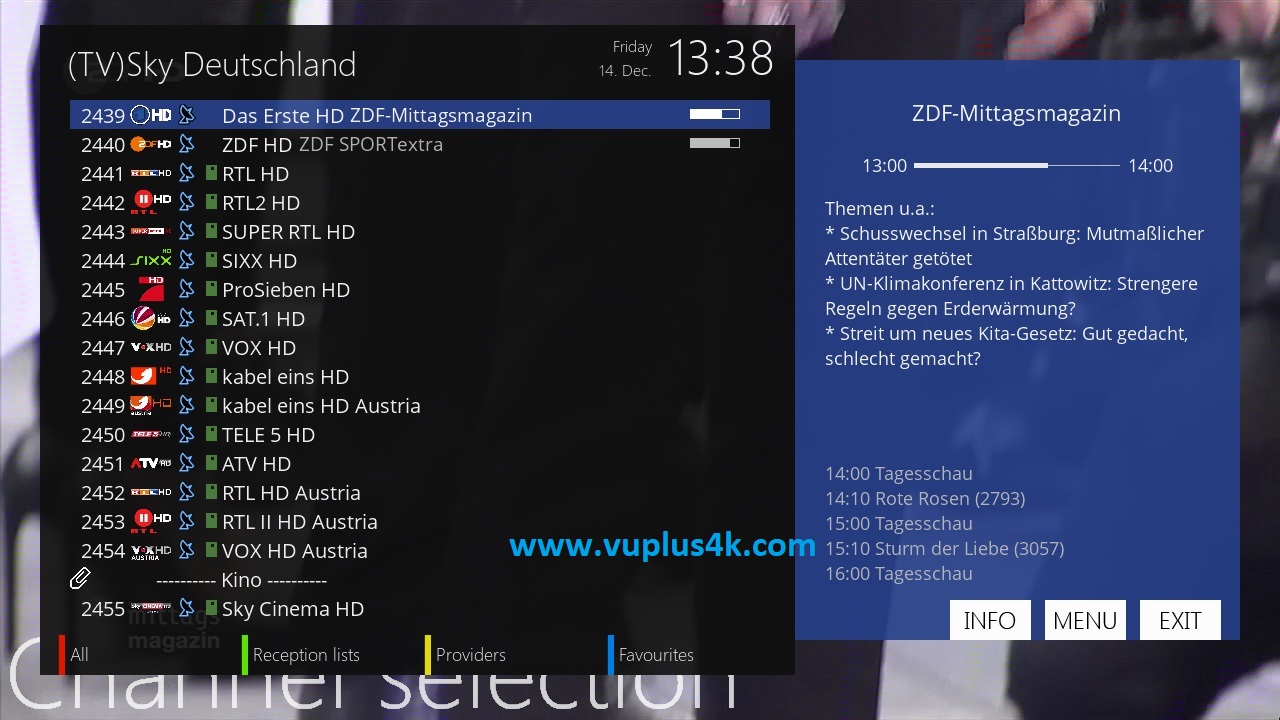
Then restart your receiver
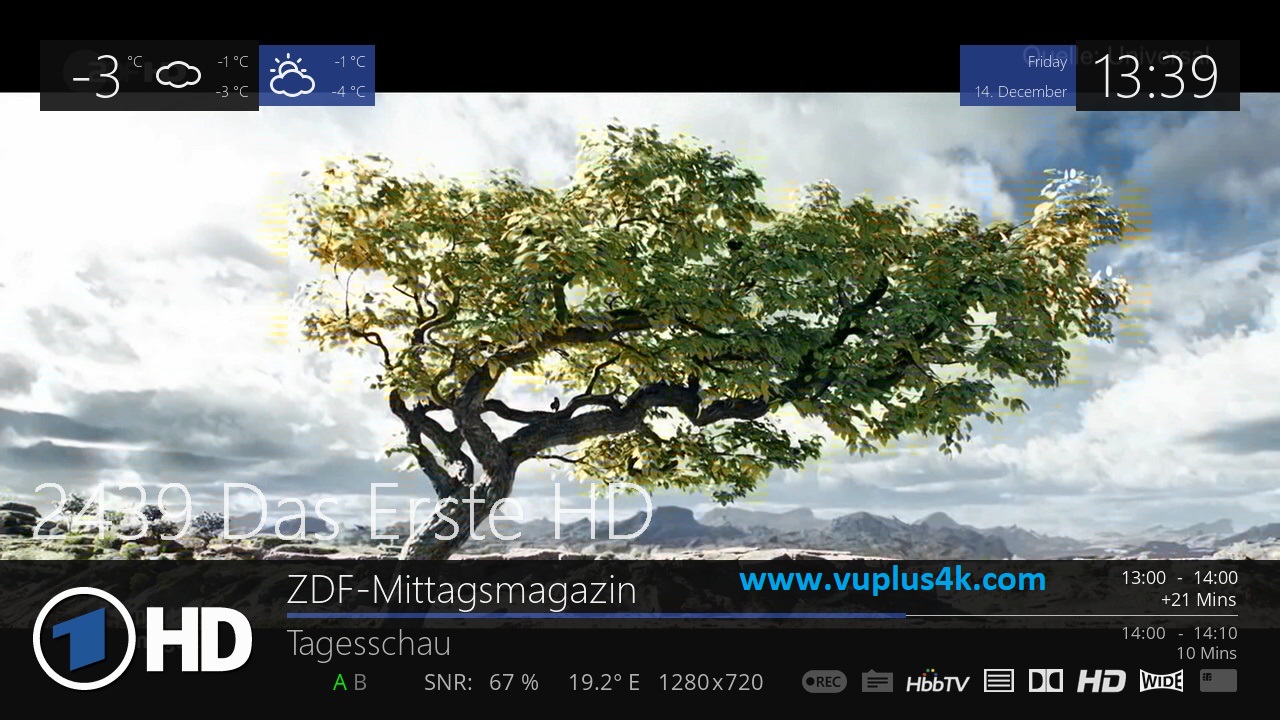
Congratulation you have Picon now on your OpenATV SKIN 🙂
*******************************************************************
You can install the picons on the internal flash memory of your receiver, the internal hard disk, a USB key
Command to add when copying picon to the internal hard drive
ln -s /usr/share/enigma2/picon /hdd/picon
Command to add when copying picon to USB stick
ln -s /usr/share/enigma2/picon/usb/picon