

Here is a tutorial on the installation and configuration of OScam on the GIGABLUE decoder under a TeamBlue image and OSCam .
IMPORTANT: Before starting the installation of OSCAM you need to have SOFTCAM STARTUP installed on your TEAM BLUE image,
For this tutorial you need.
Material:
GigaBlue UHD Quad 4K
GigaBlue UHD UE 4K
GigaBlue quad plus
GigaBlue quad
GigaBlue ultra ueh
GigaBlue HD x2
GigaBlue x3h
GigaBlue ultra ue
GigaBlue X1
GigaBlue X2
GigaBlue 800 ue plus
GigaBlue 800 se plus
GigaBlue 800 ue
GigaBlue 800 se
GigaBlue 800 solo
Software:
Winscp

OSCAM 11925
A OScam subscription – If you do not have a OScam subscription you can order it here


1- Installing the OScam 2.1.4 plugin

– Launch WINSCP in the home window
File protocol: FTP
Hot name: 192.168.1.100 (ip address of your VU+ )
User name: root
Password: “empty” by default the root password in TeamBlue is empty (no password)
After clicking on Login
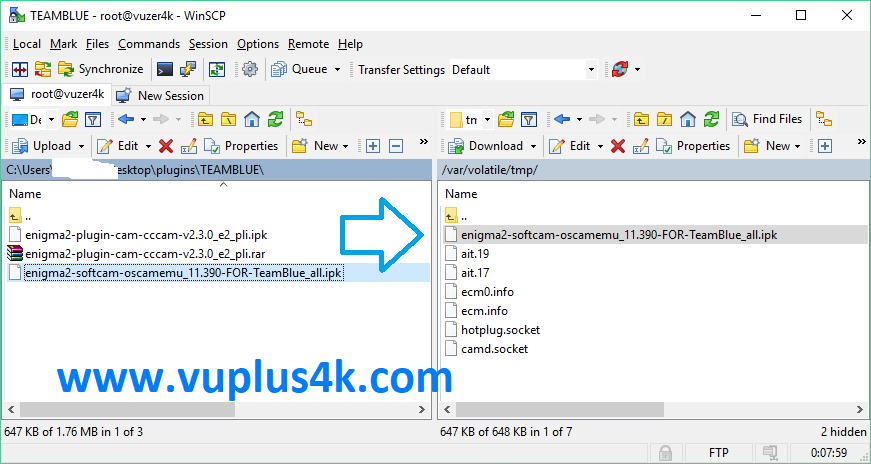
Select the ipk file and drag between the two windows to the /tmp folder.
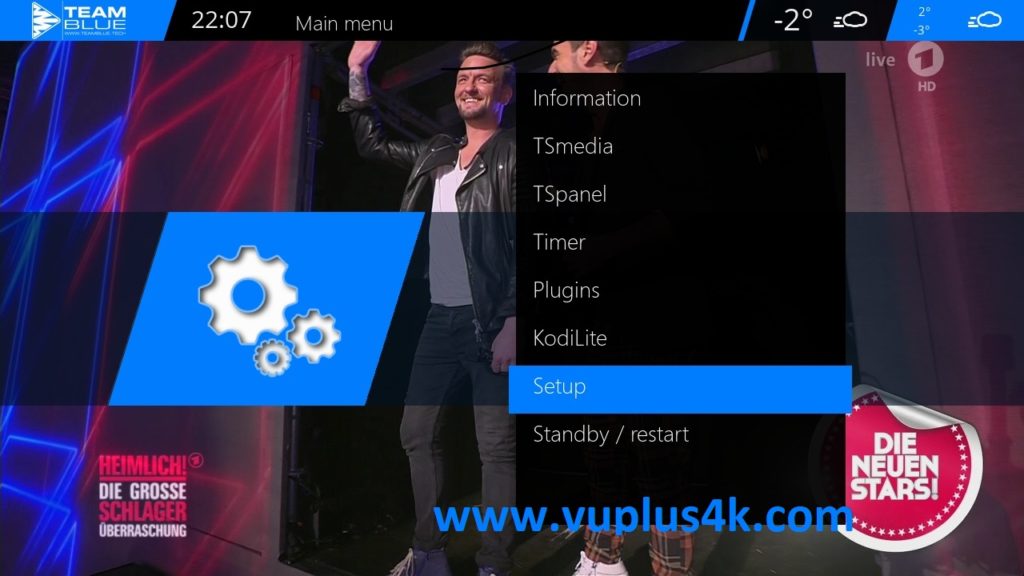
Menu – Setup
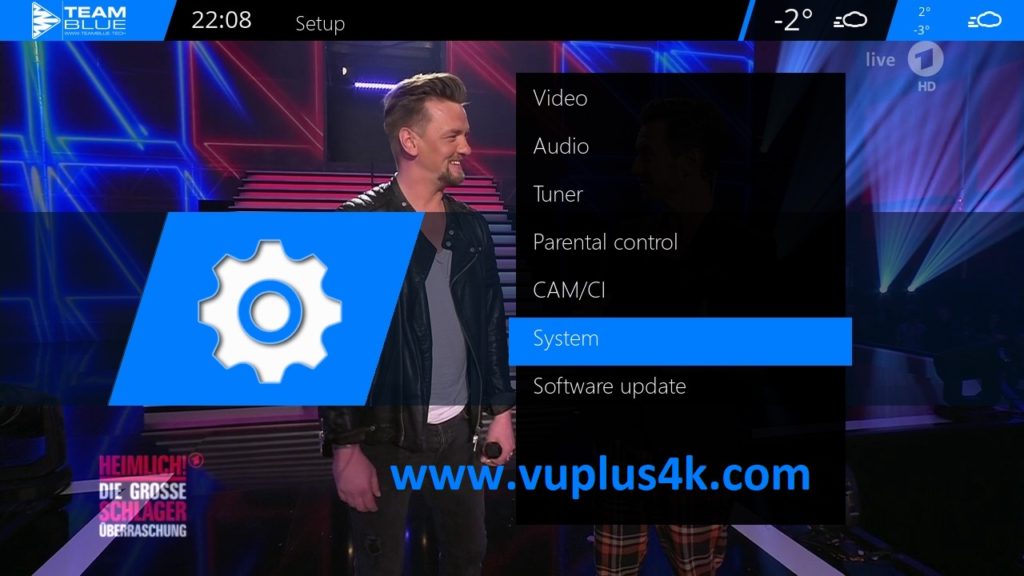
Choose System
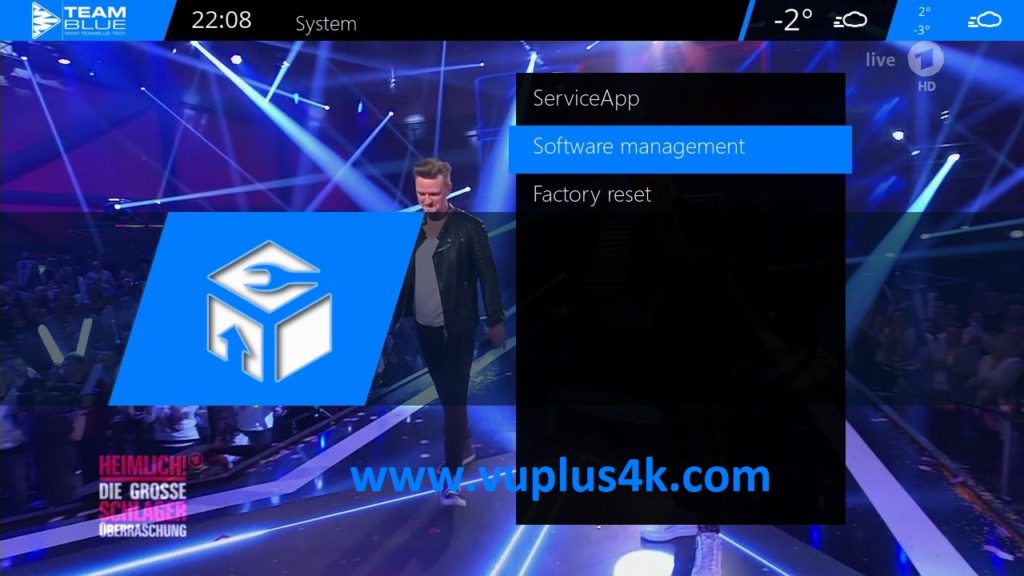
Choose System Management press OK
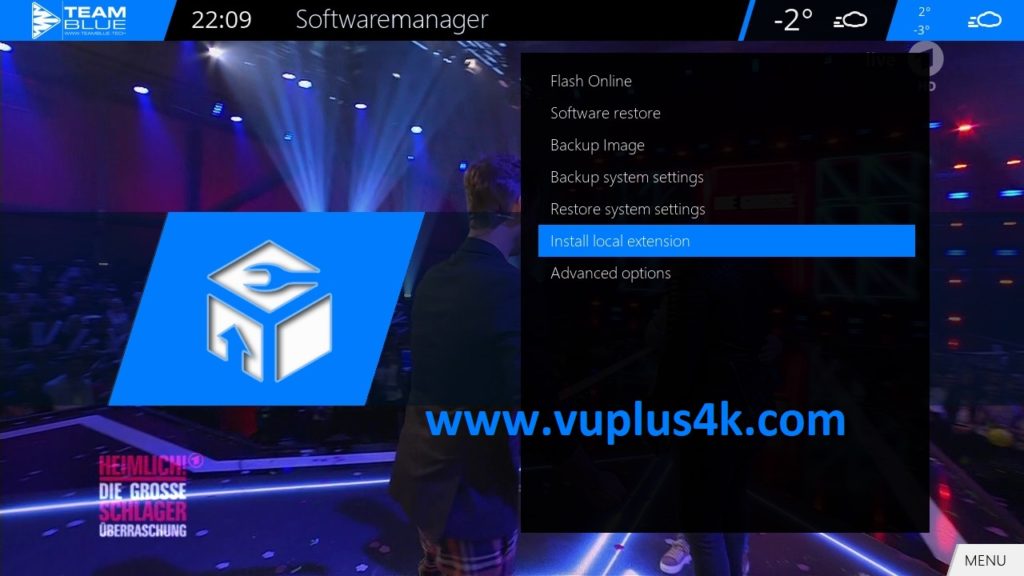
Install local extension
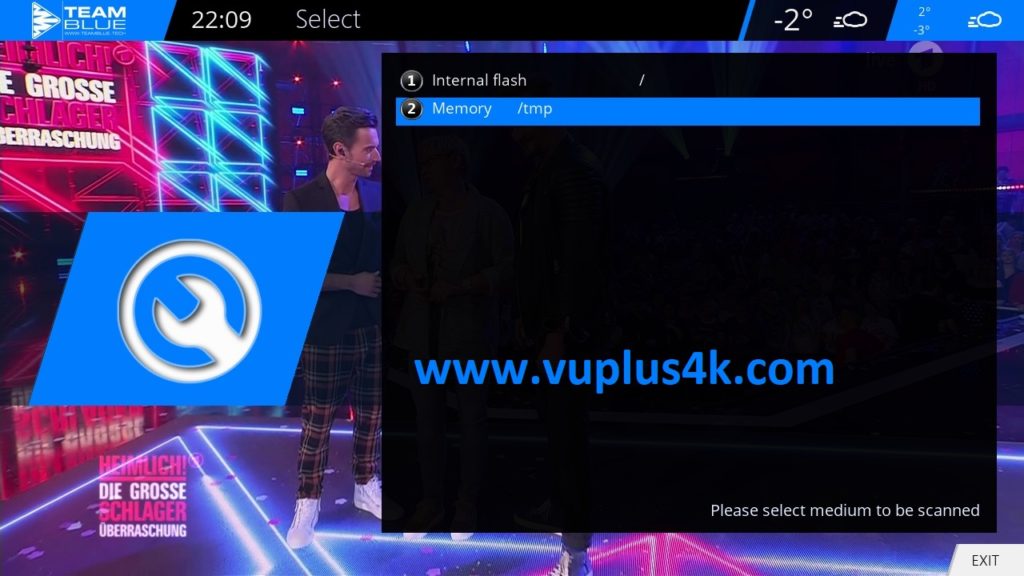
Memory /tmp
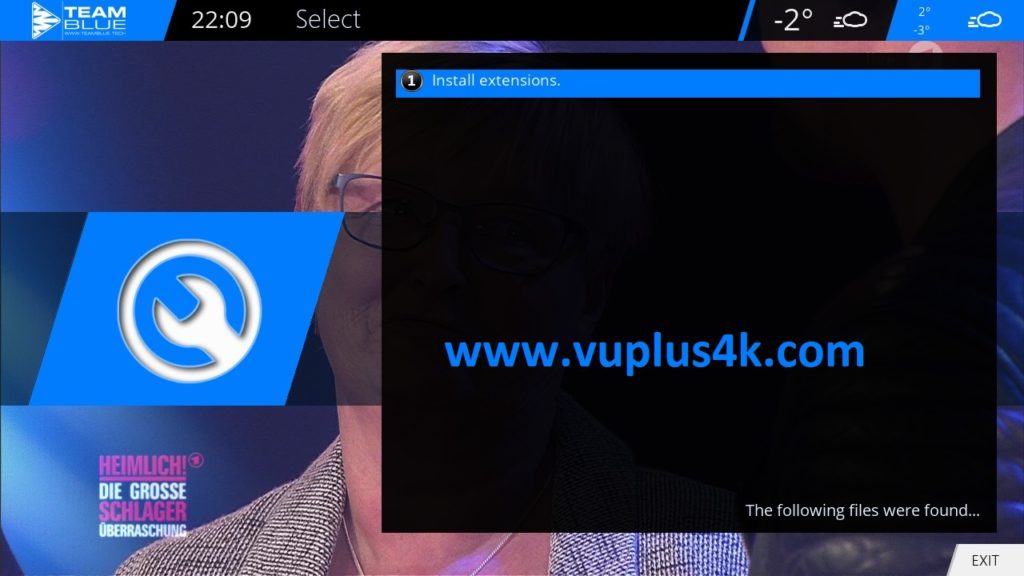
Install extensions
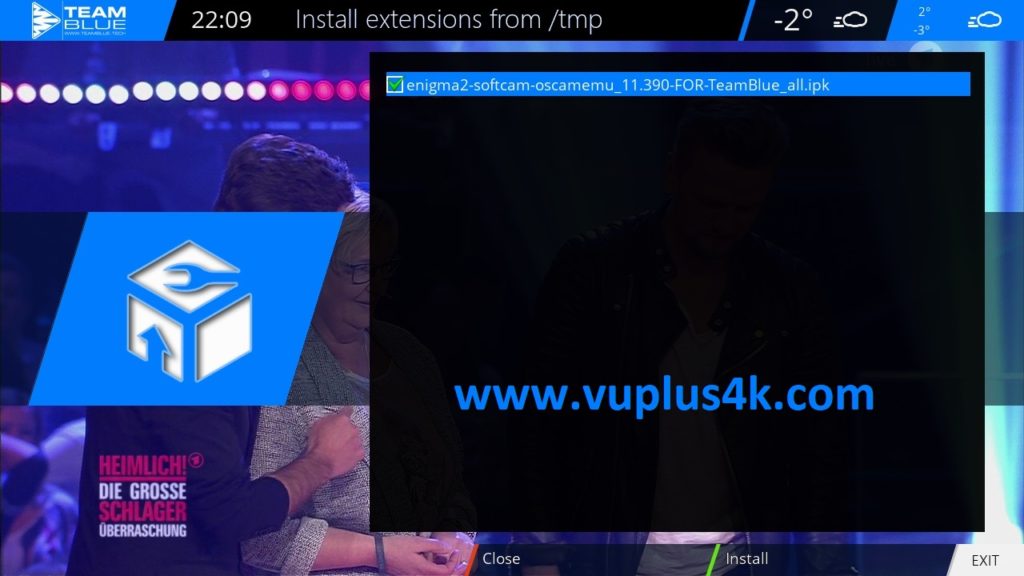
choose IPK file
Next press GREEN button to start installation
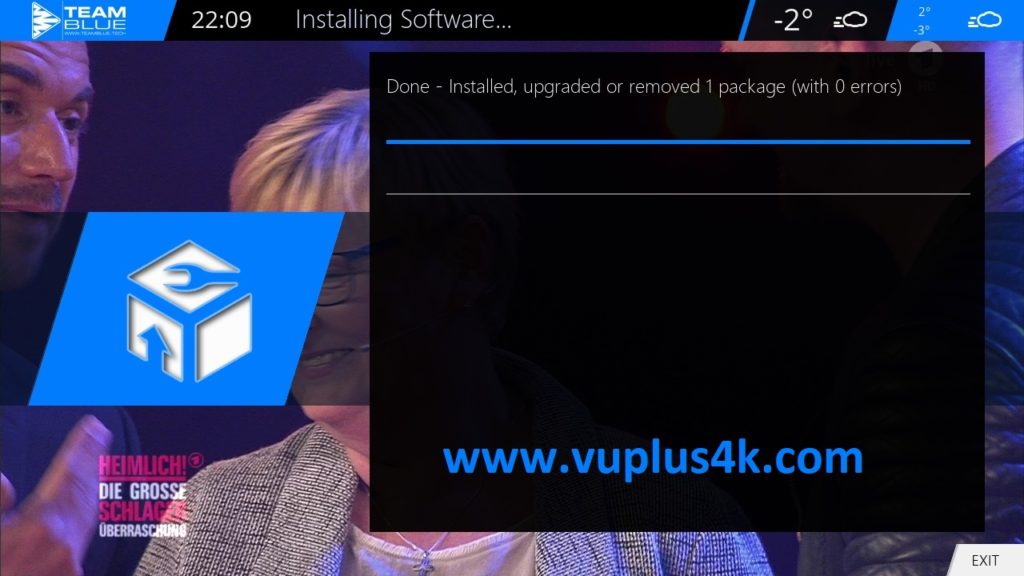
Press OK to complete the installation, the GUI will restart, it will take a few seconds.
2. Copy of the OSCam subscription
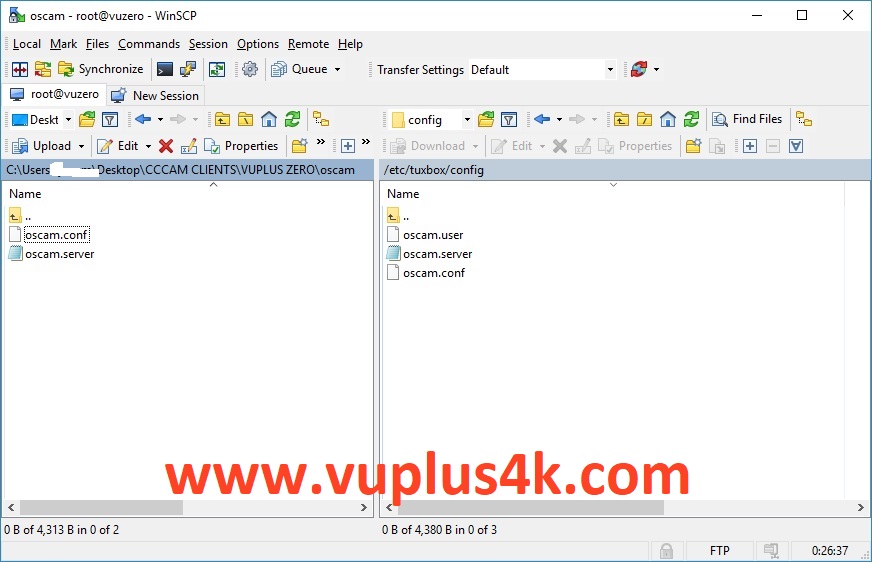
Copy subscription files from your PC to the /etc/tuxbox/config path of your receiver.
oscam.server
oscam.conf
3. Starting OSCam
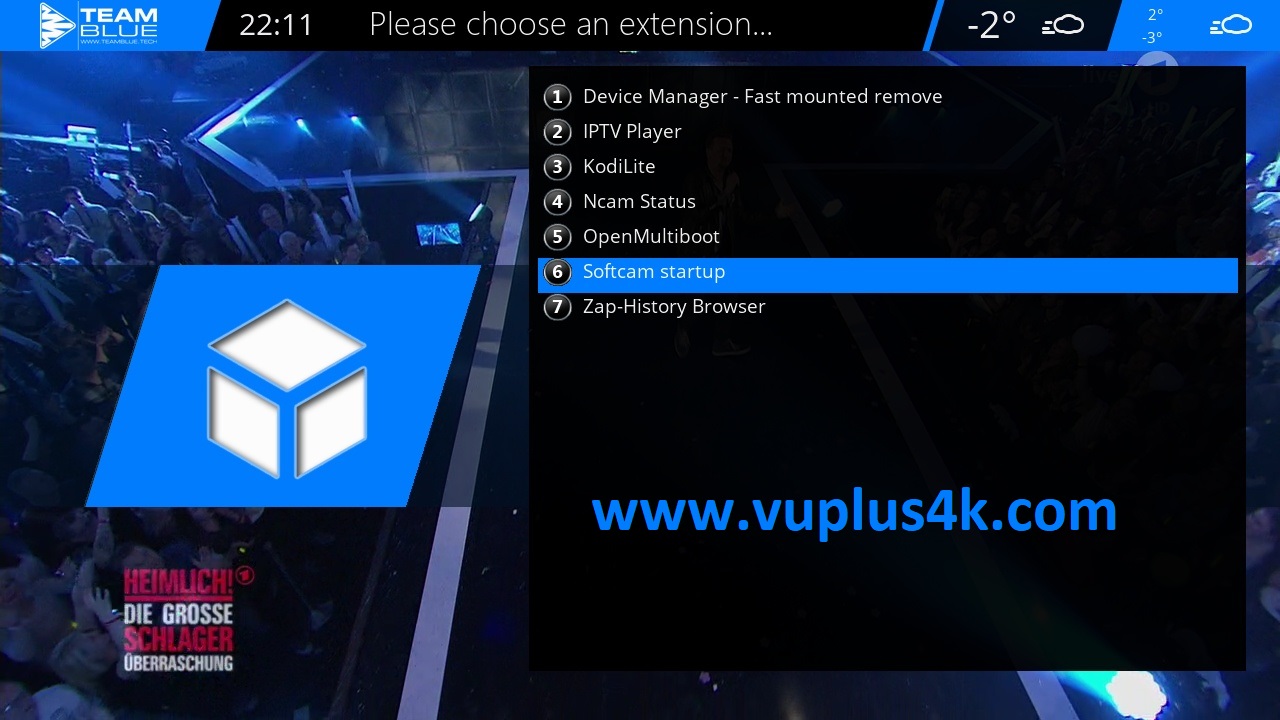
Press Blue Button
Go to Softcam Startup
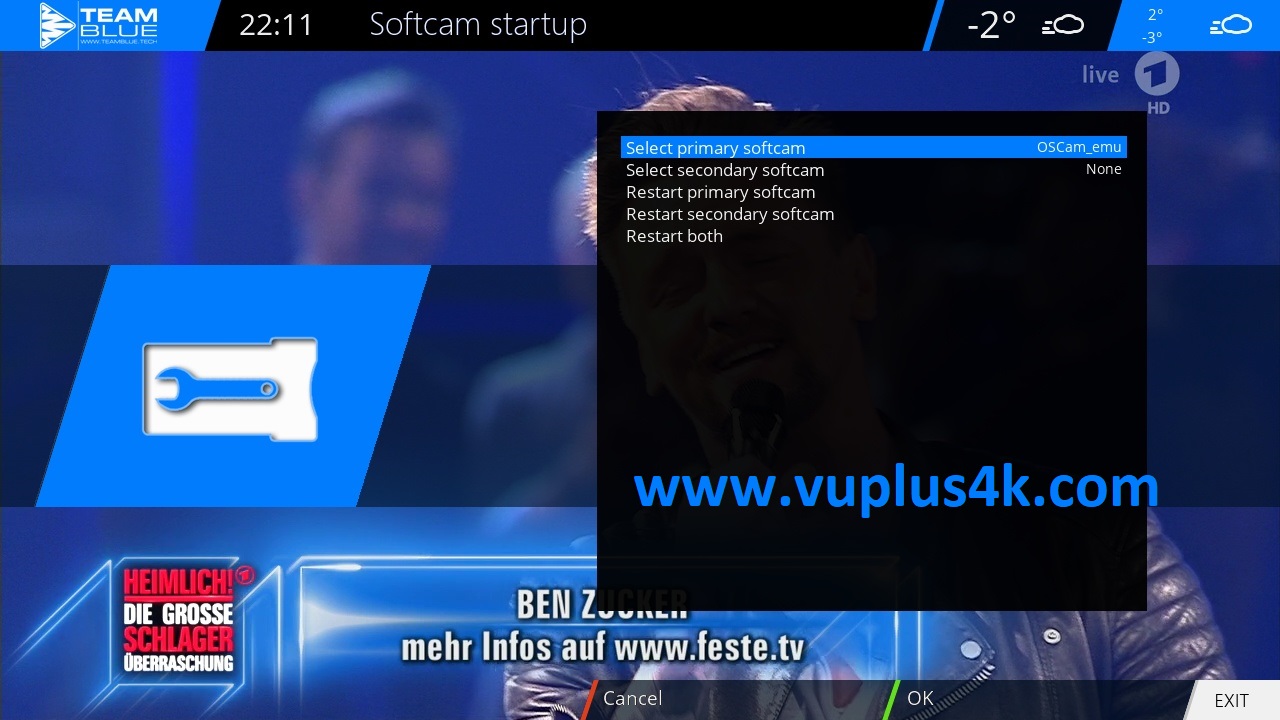
Select OSCAM EMU
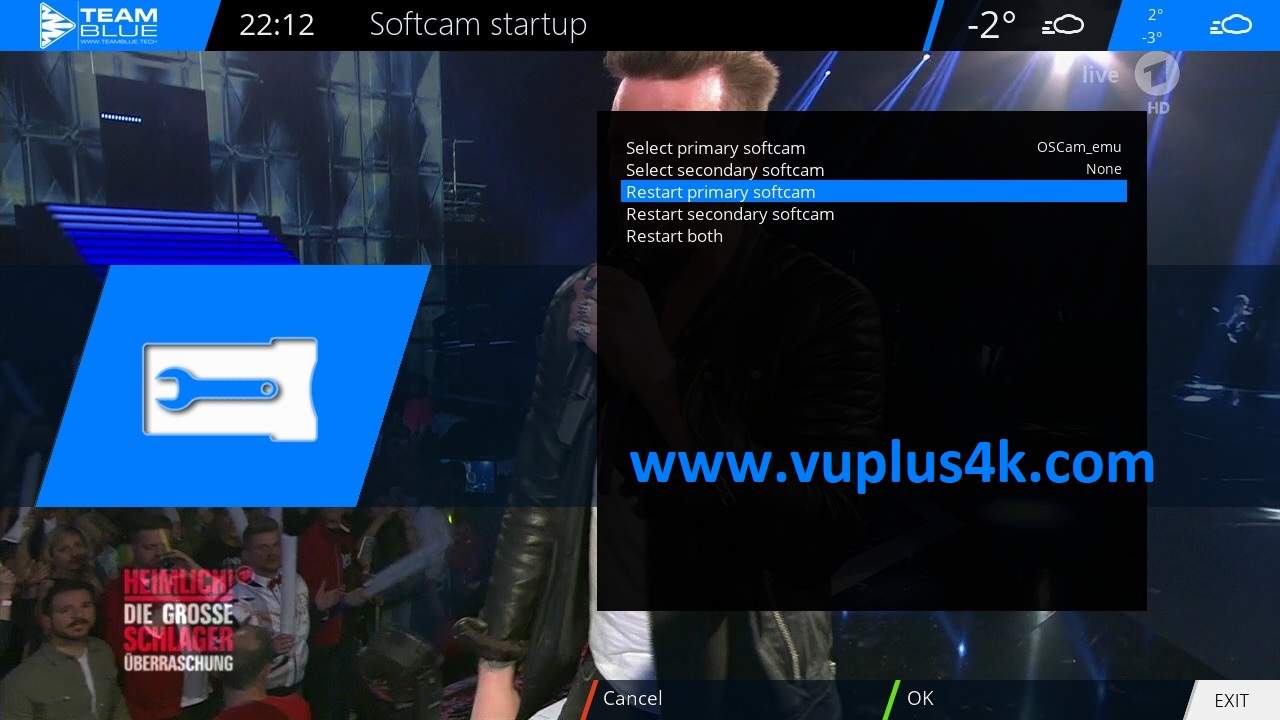
then choose restart primary softcam and press OK.
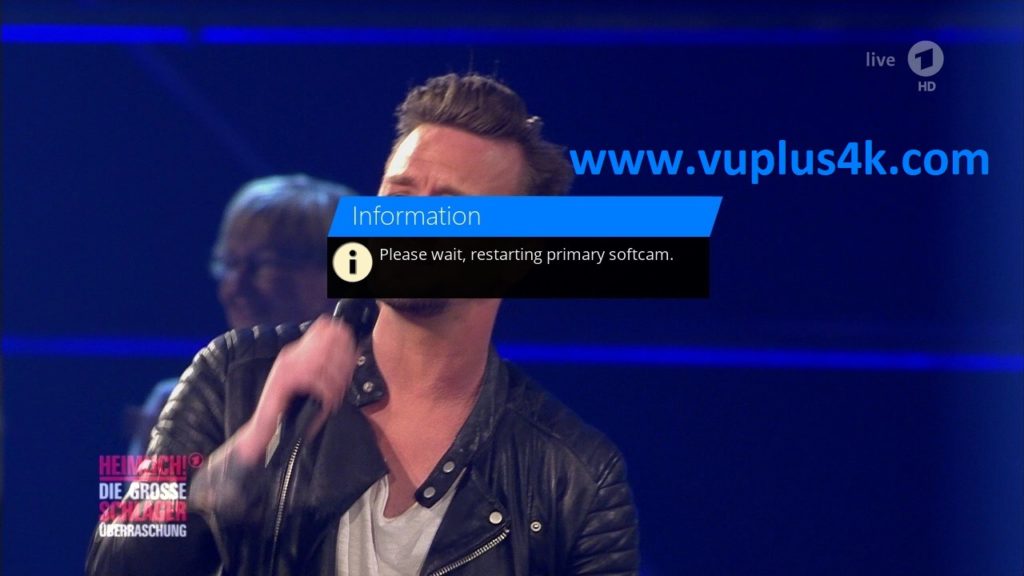
Please wait while starting OScam


video test
https://www.dailymotion.com/video/x7wzj25