
What you need before we start:
1) A USB stick formatted to FAT32. (Preferably compatibility issues while flashing the image).
2) Image of your choice.
3) Compression software such as 7zip, Winrar, Winzip
1. Format a USB stick to FAT32.
2. Download the image of your choice and extract it to your desktop.
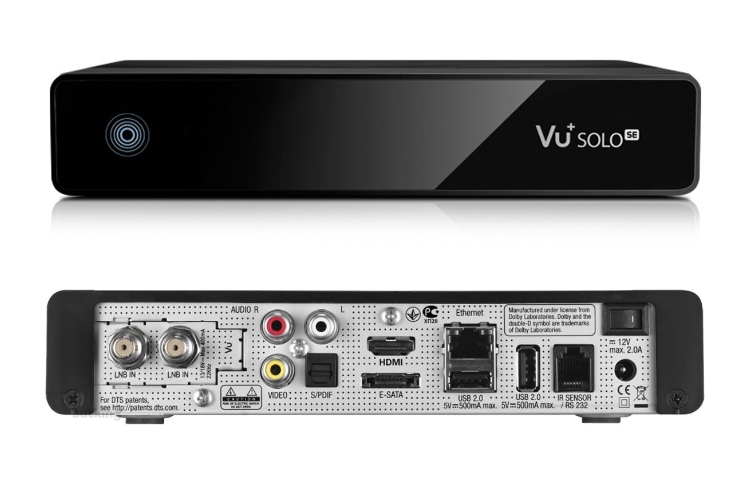
Images for Vu+ SOLO SE

3. Copy the extracted folder “vuplus” to your USB Stick
Flashing the Receiver.
1) Power off the receiver
2) Insert the USB stick containing the image file .
4) Power the receiver on.
5) The Blue L.E.D will quickly flash two or three times then start to fade in and out slowly..
6) Once completed the Blue L.E.D will flash rapidly.
7) If in doubt leave the receiver for a full 10 minutes before powering down and removing the USB stick.
8) Power on the receiver, it should now boot into the new image.
![]()
The flashing process should take approximately two to four minutes to complete, while the receiver
is being flashed it is vitally important that you DO NOT power the receiver down for any reason as
this can cause serious and or permanent damage.